Until now, there are very few Android emulators that can support MacOS, and these emulators can only support MacOS with Intel chips. If you want to set up an Android emulator that can support both MacOS with Apple chip and intel chip, your only choice is Google Android Studio and its emulator. Now we will tell you how to use the tool step by step.
Install Google Android Studio
Step 1. Download the specific version of Google Android Studio(The new version do not work):
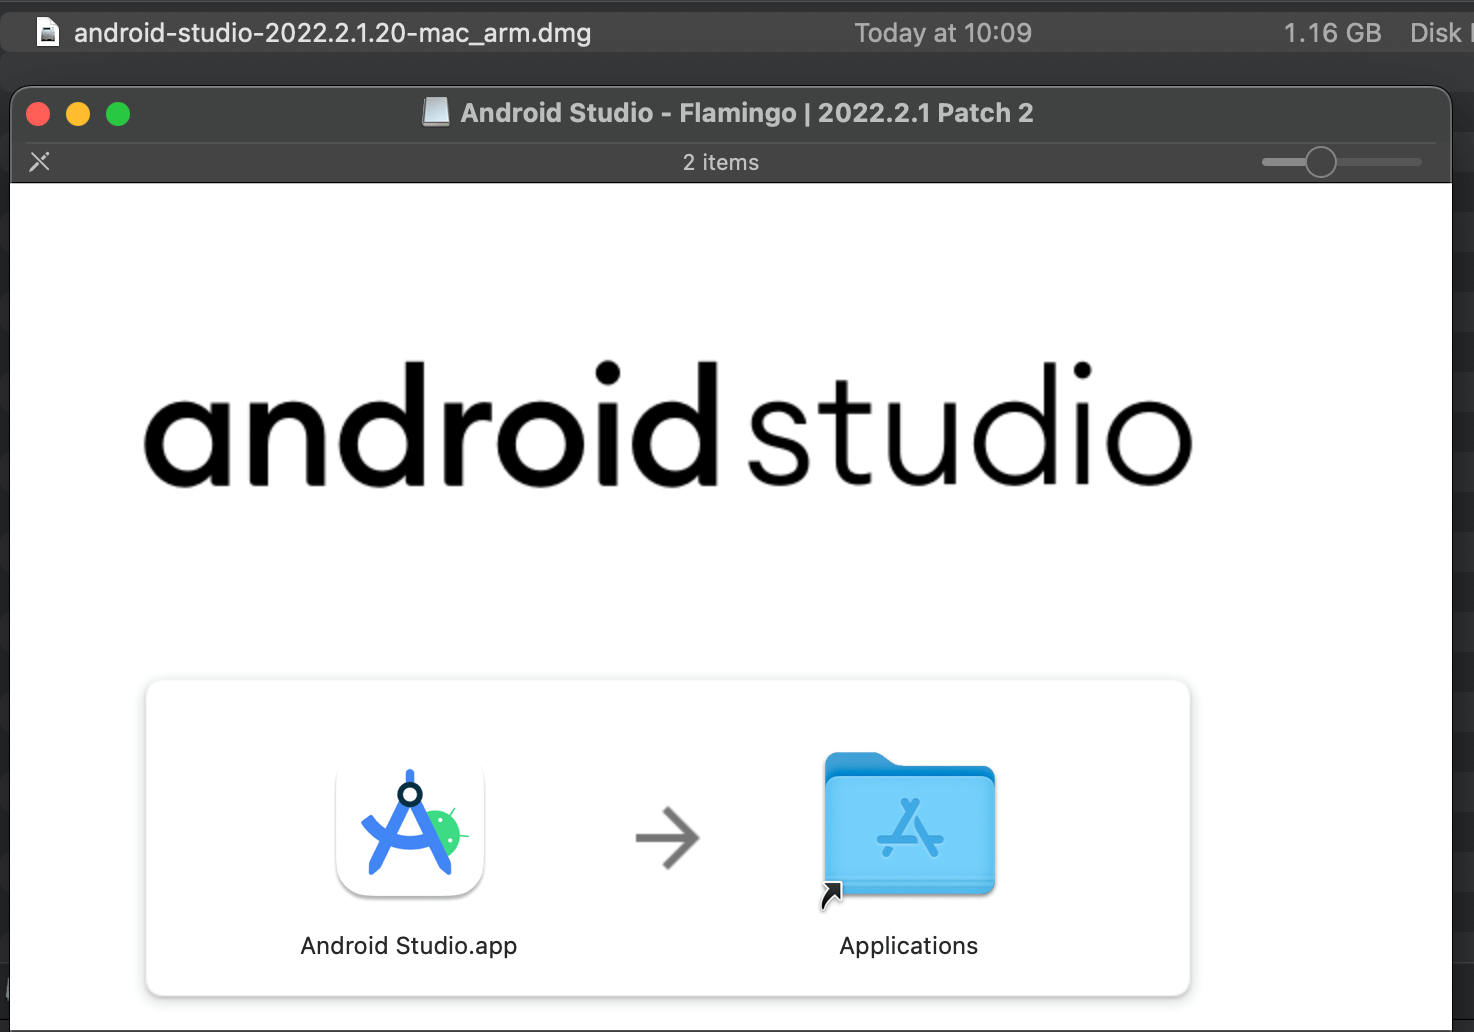
Mac (Apple Silicon): android-studio-2022.2.1.20-mac_arm.dmg
Mac (Intel): android-studio-2022.2.1.20-mac.dmg
Step 2. The downloaded file name will be android-studio*.dmg, open the dmg file.
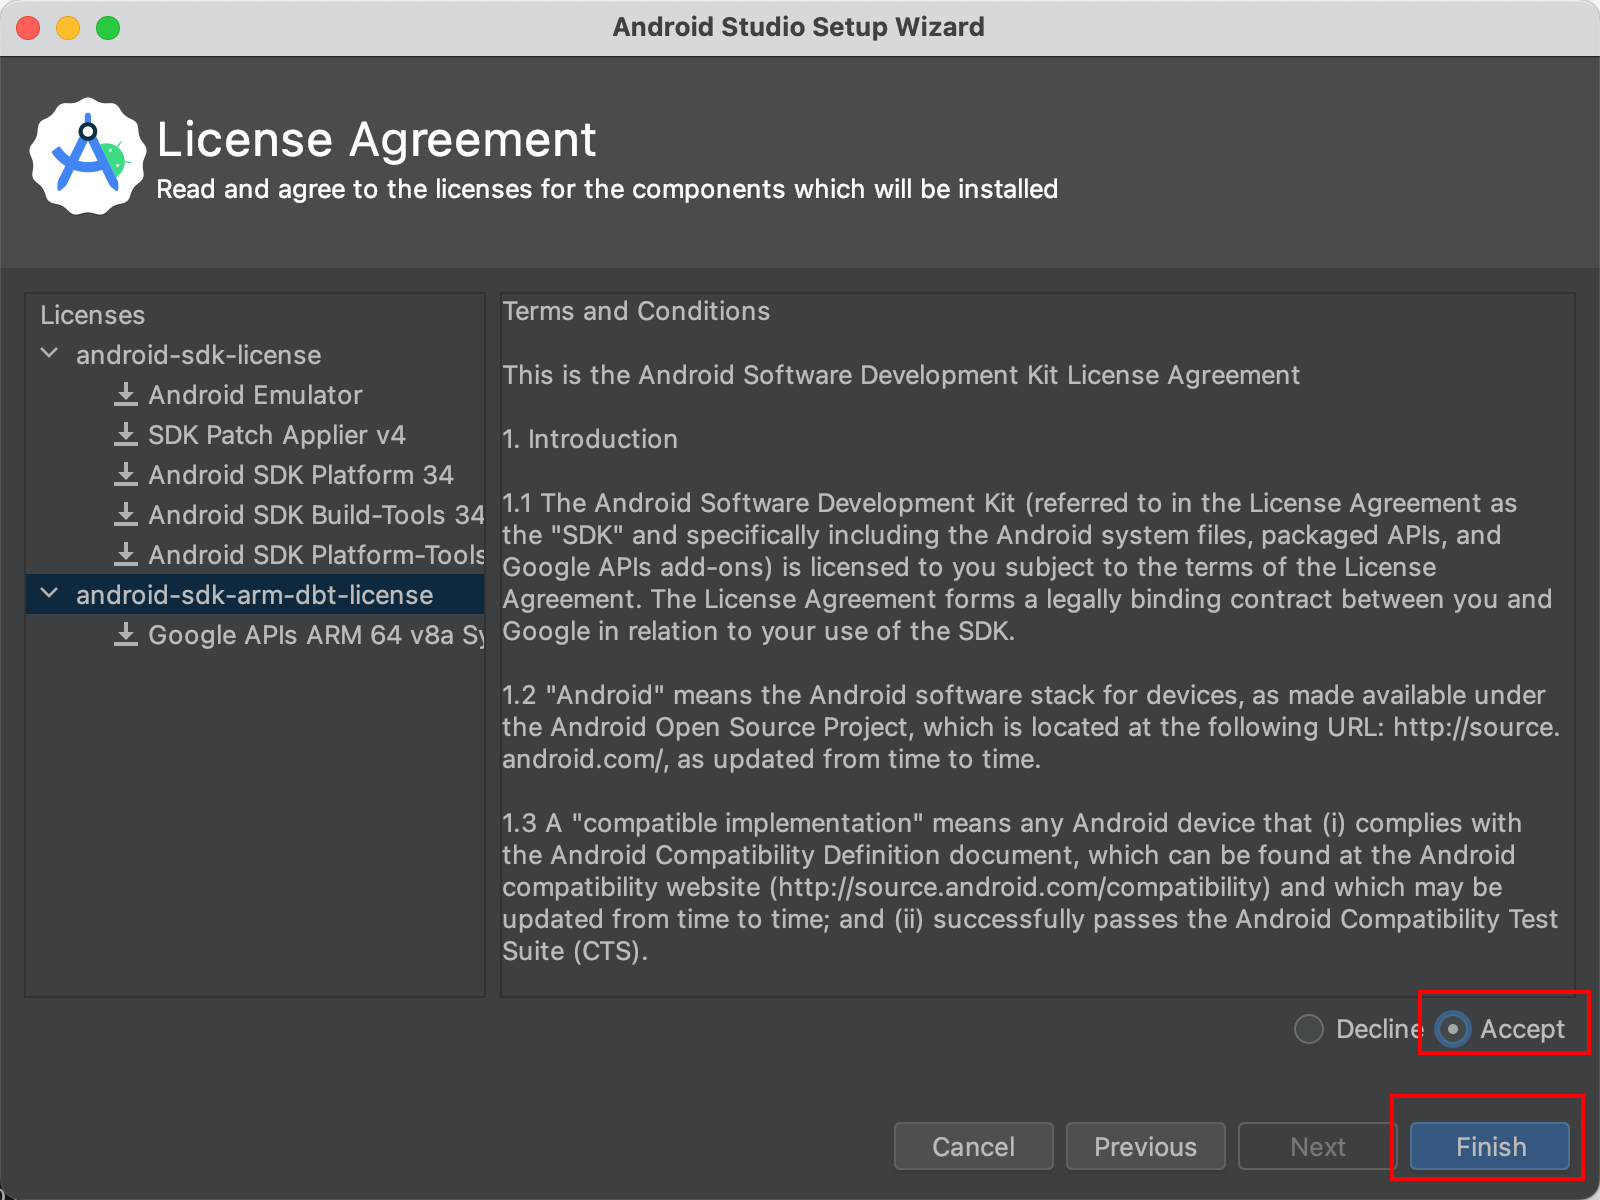
Step 3. Follow the installation instructions to install Android Studio, select “Accept” to accept the License Agreement, then click the “Finish” button.
Step 4. Android Studio Setup Wizard will download extra components online, it will take minutes for downloading. Click the “Finish” button after downloading.

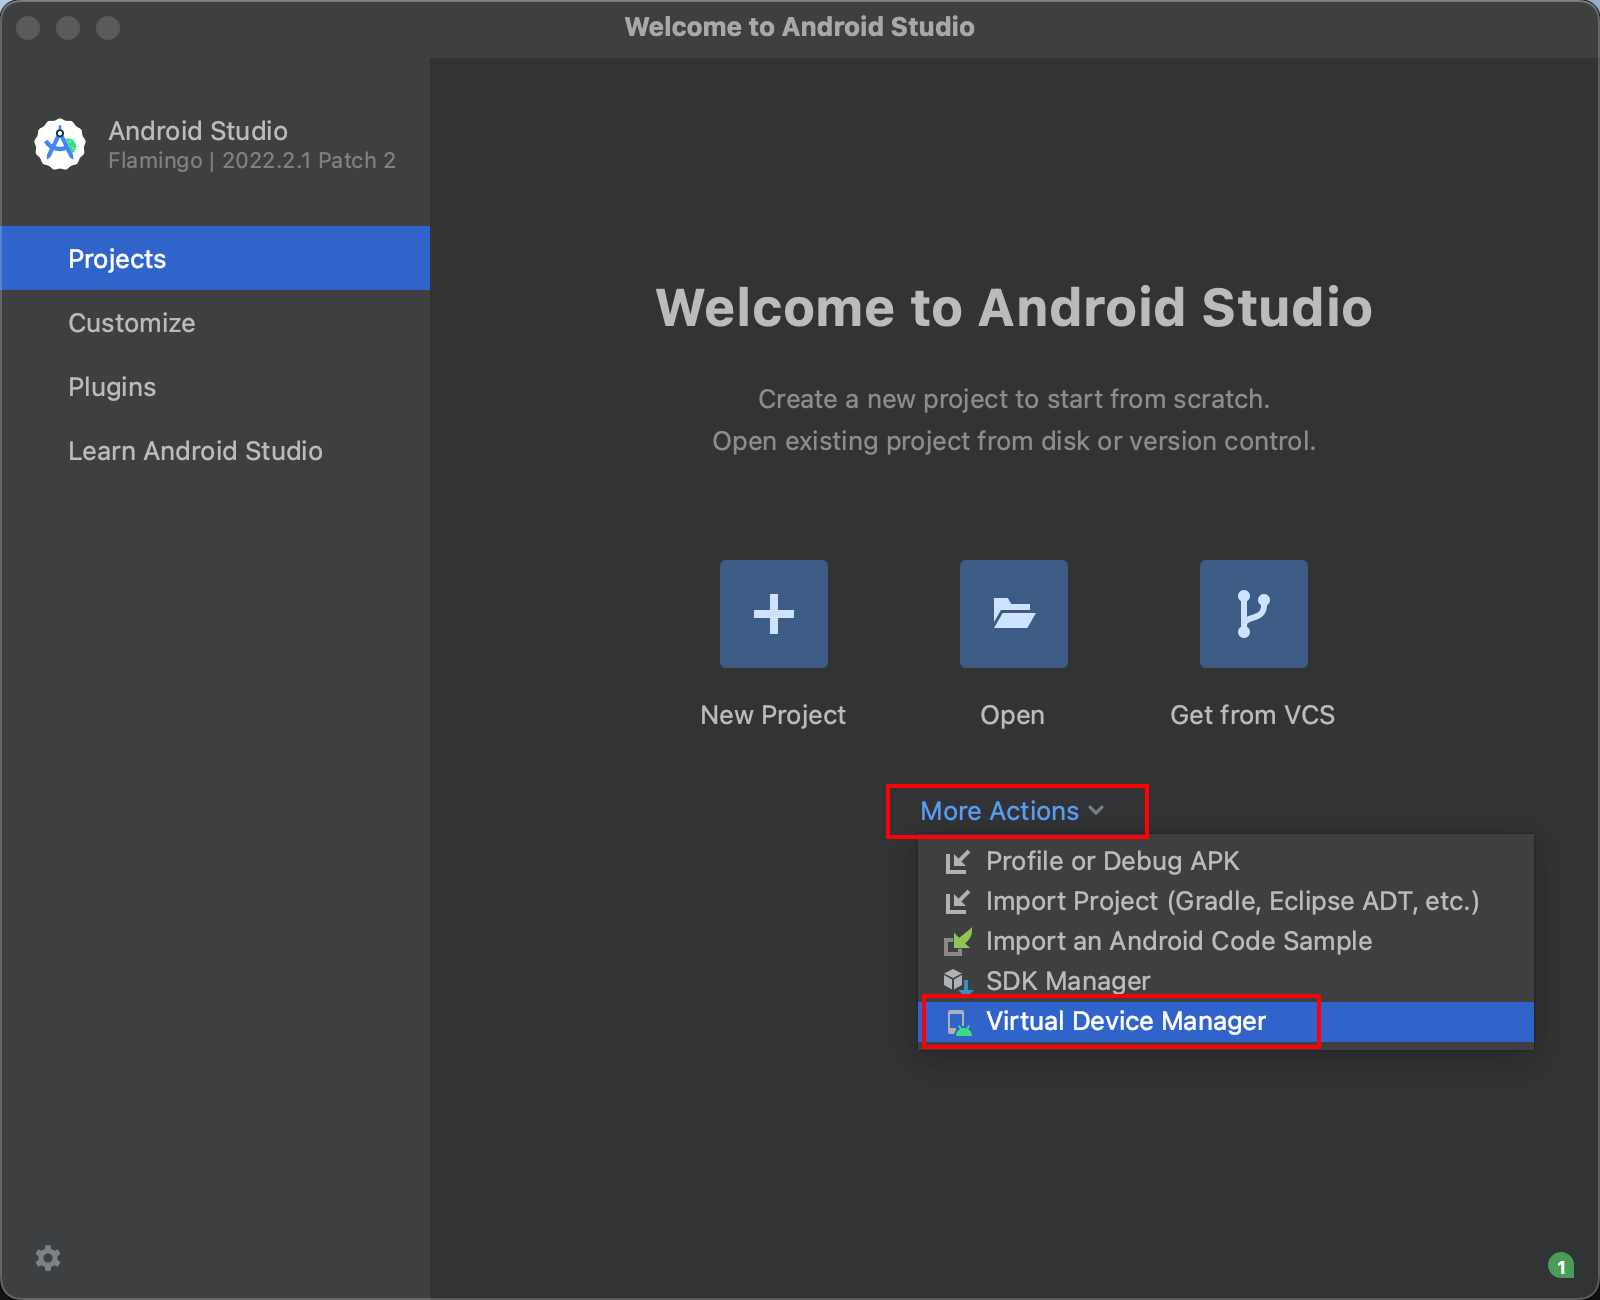
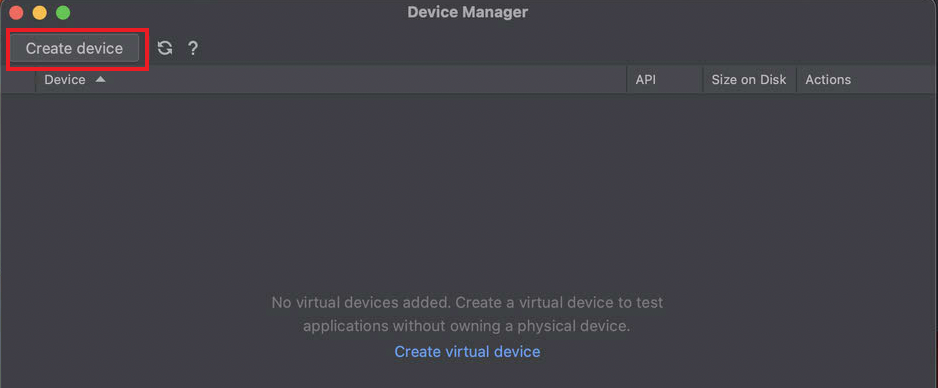
Step 5. After installing successfully, you will see the start window, then click the menu “More Actions” -> “Virtual Device Manager” for managing Android emulators.
If there are projects on your Android Studio, you should start Android emulators on the toolbar.

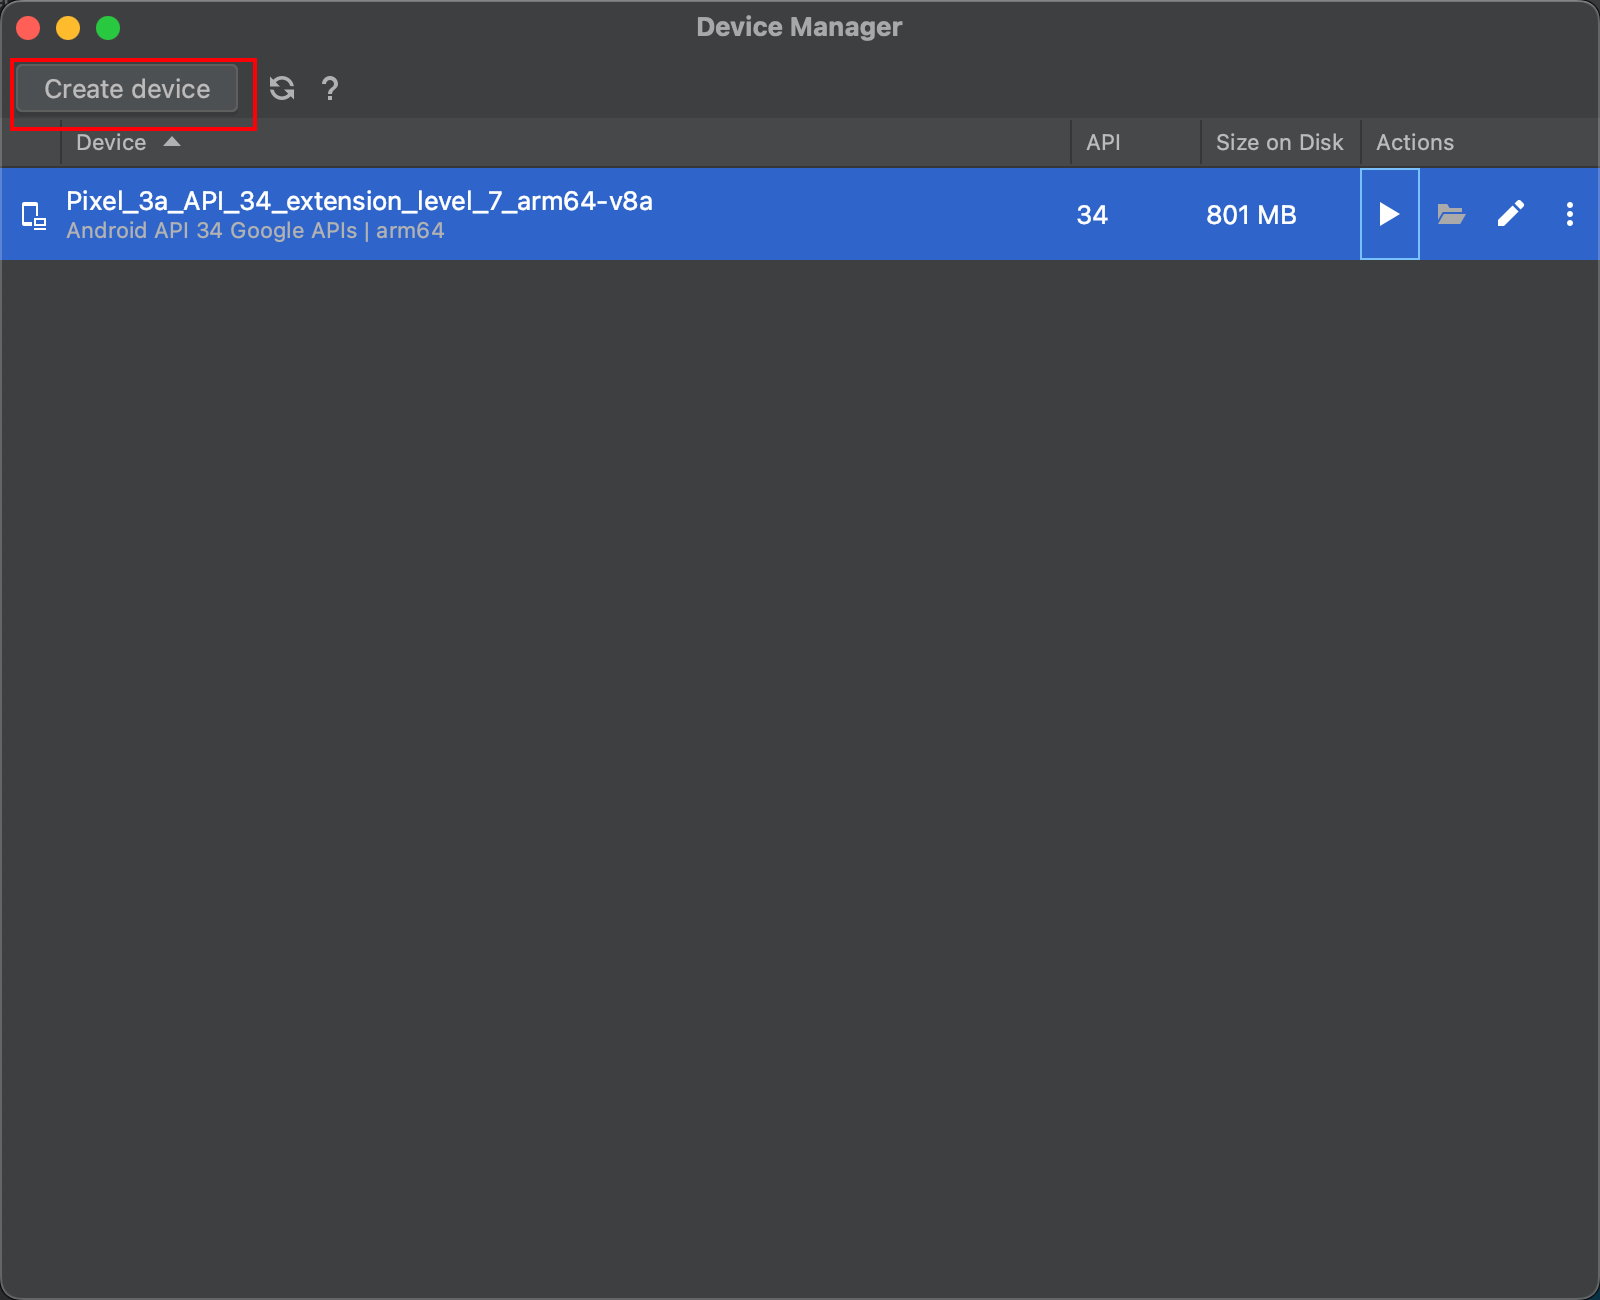
Step 6. Create a new Android emulator by clicking the button “Create device”.
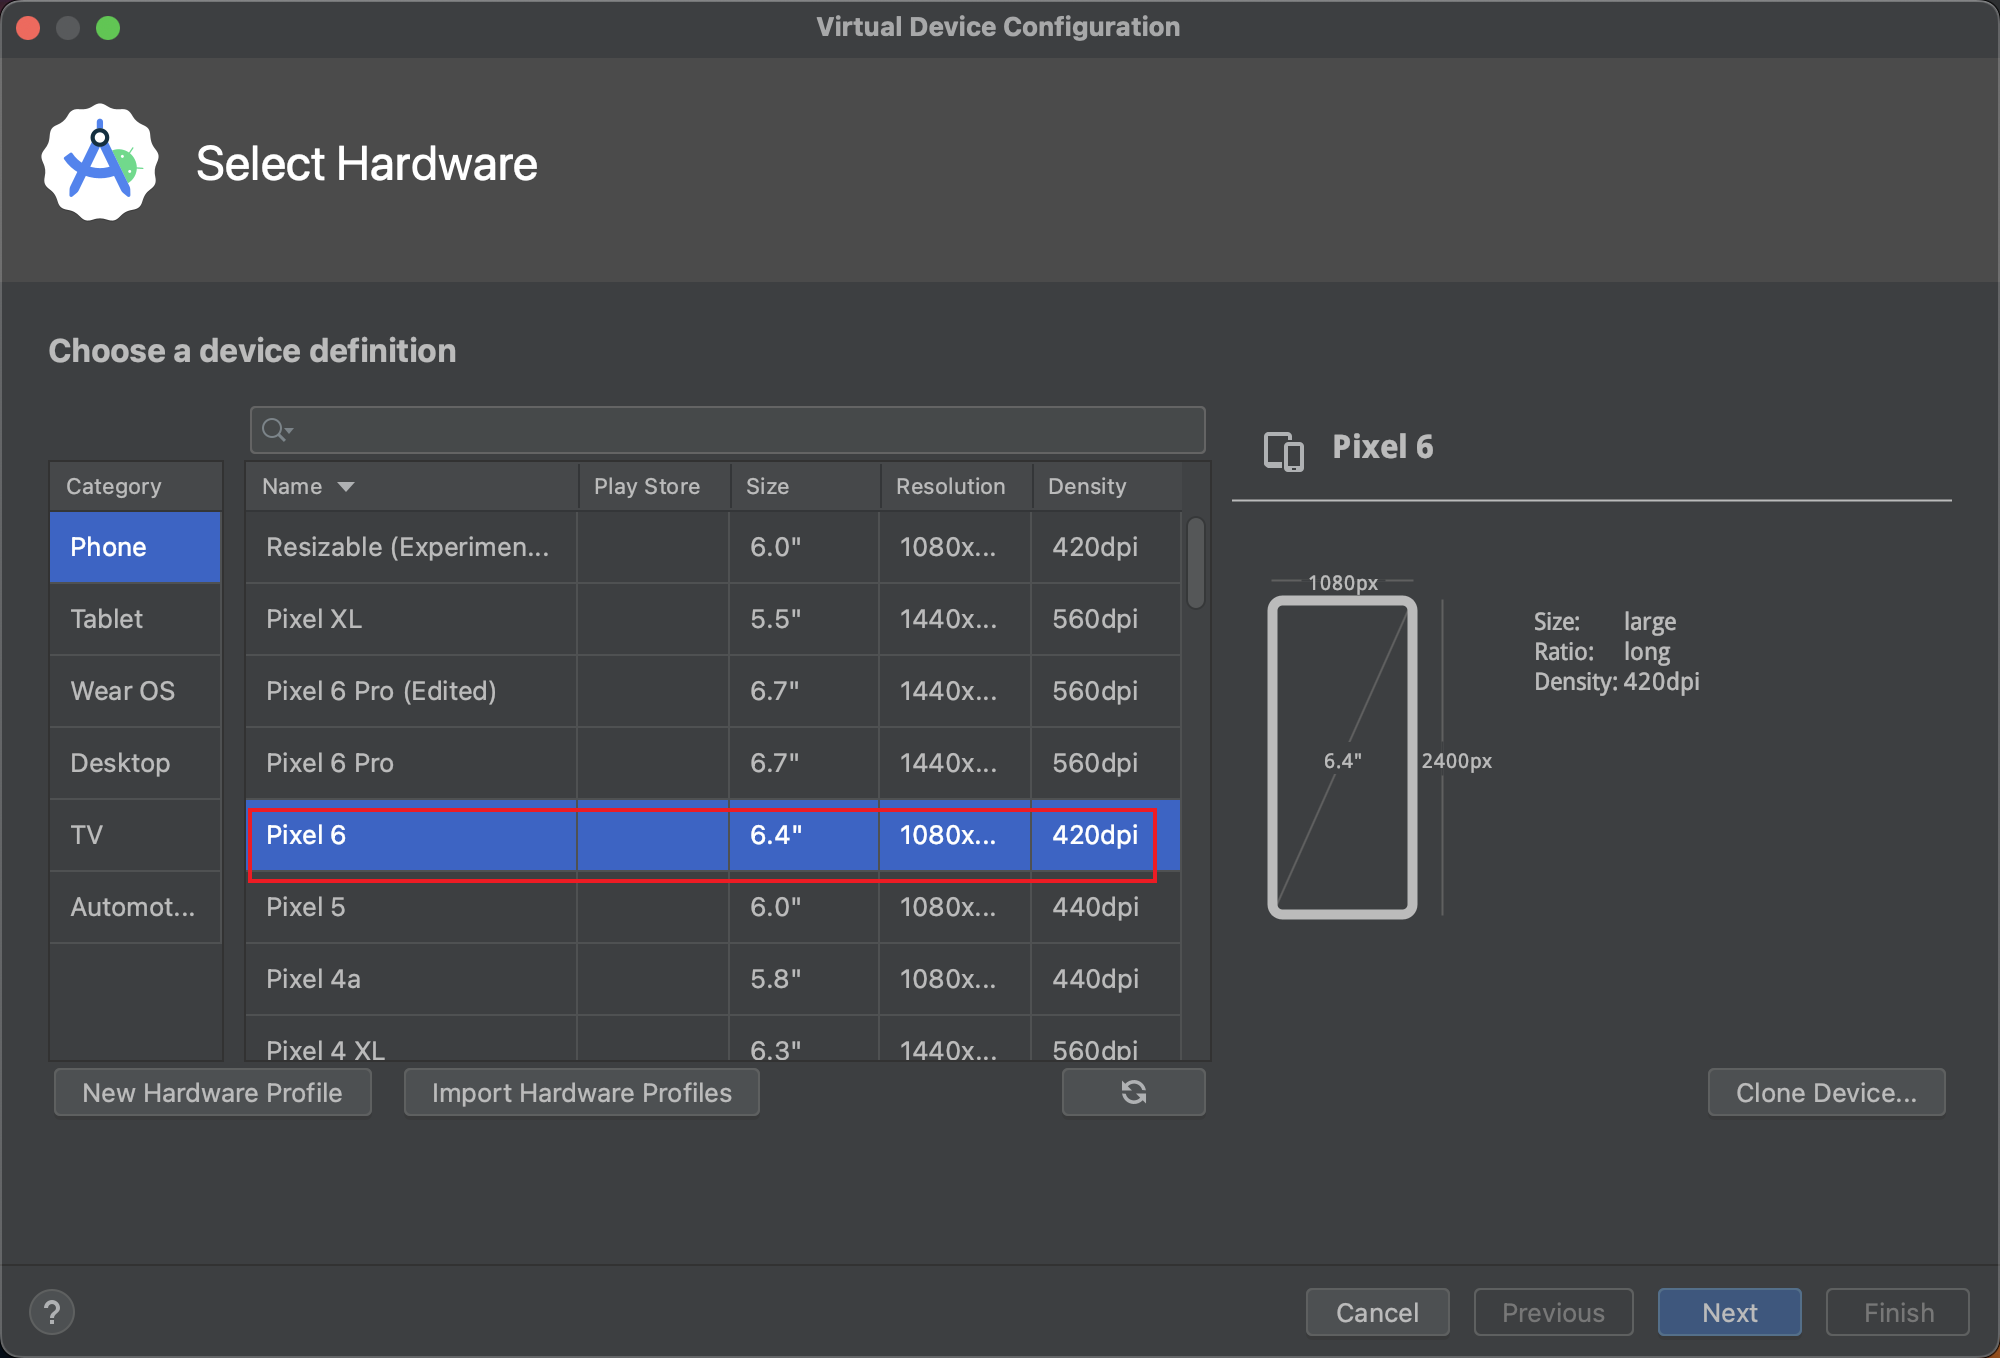
Select the specific device and click the button “Next”.
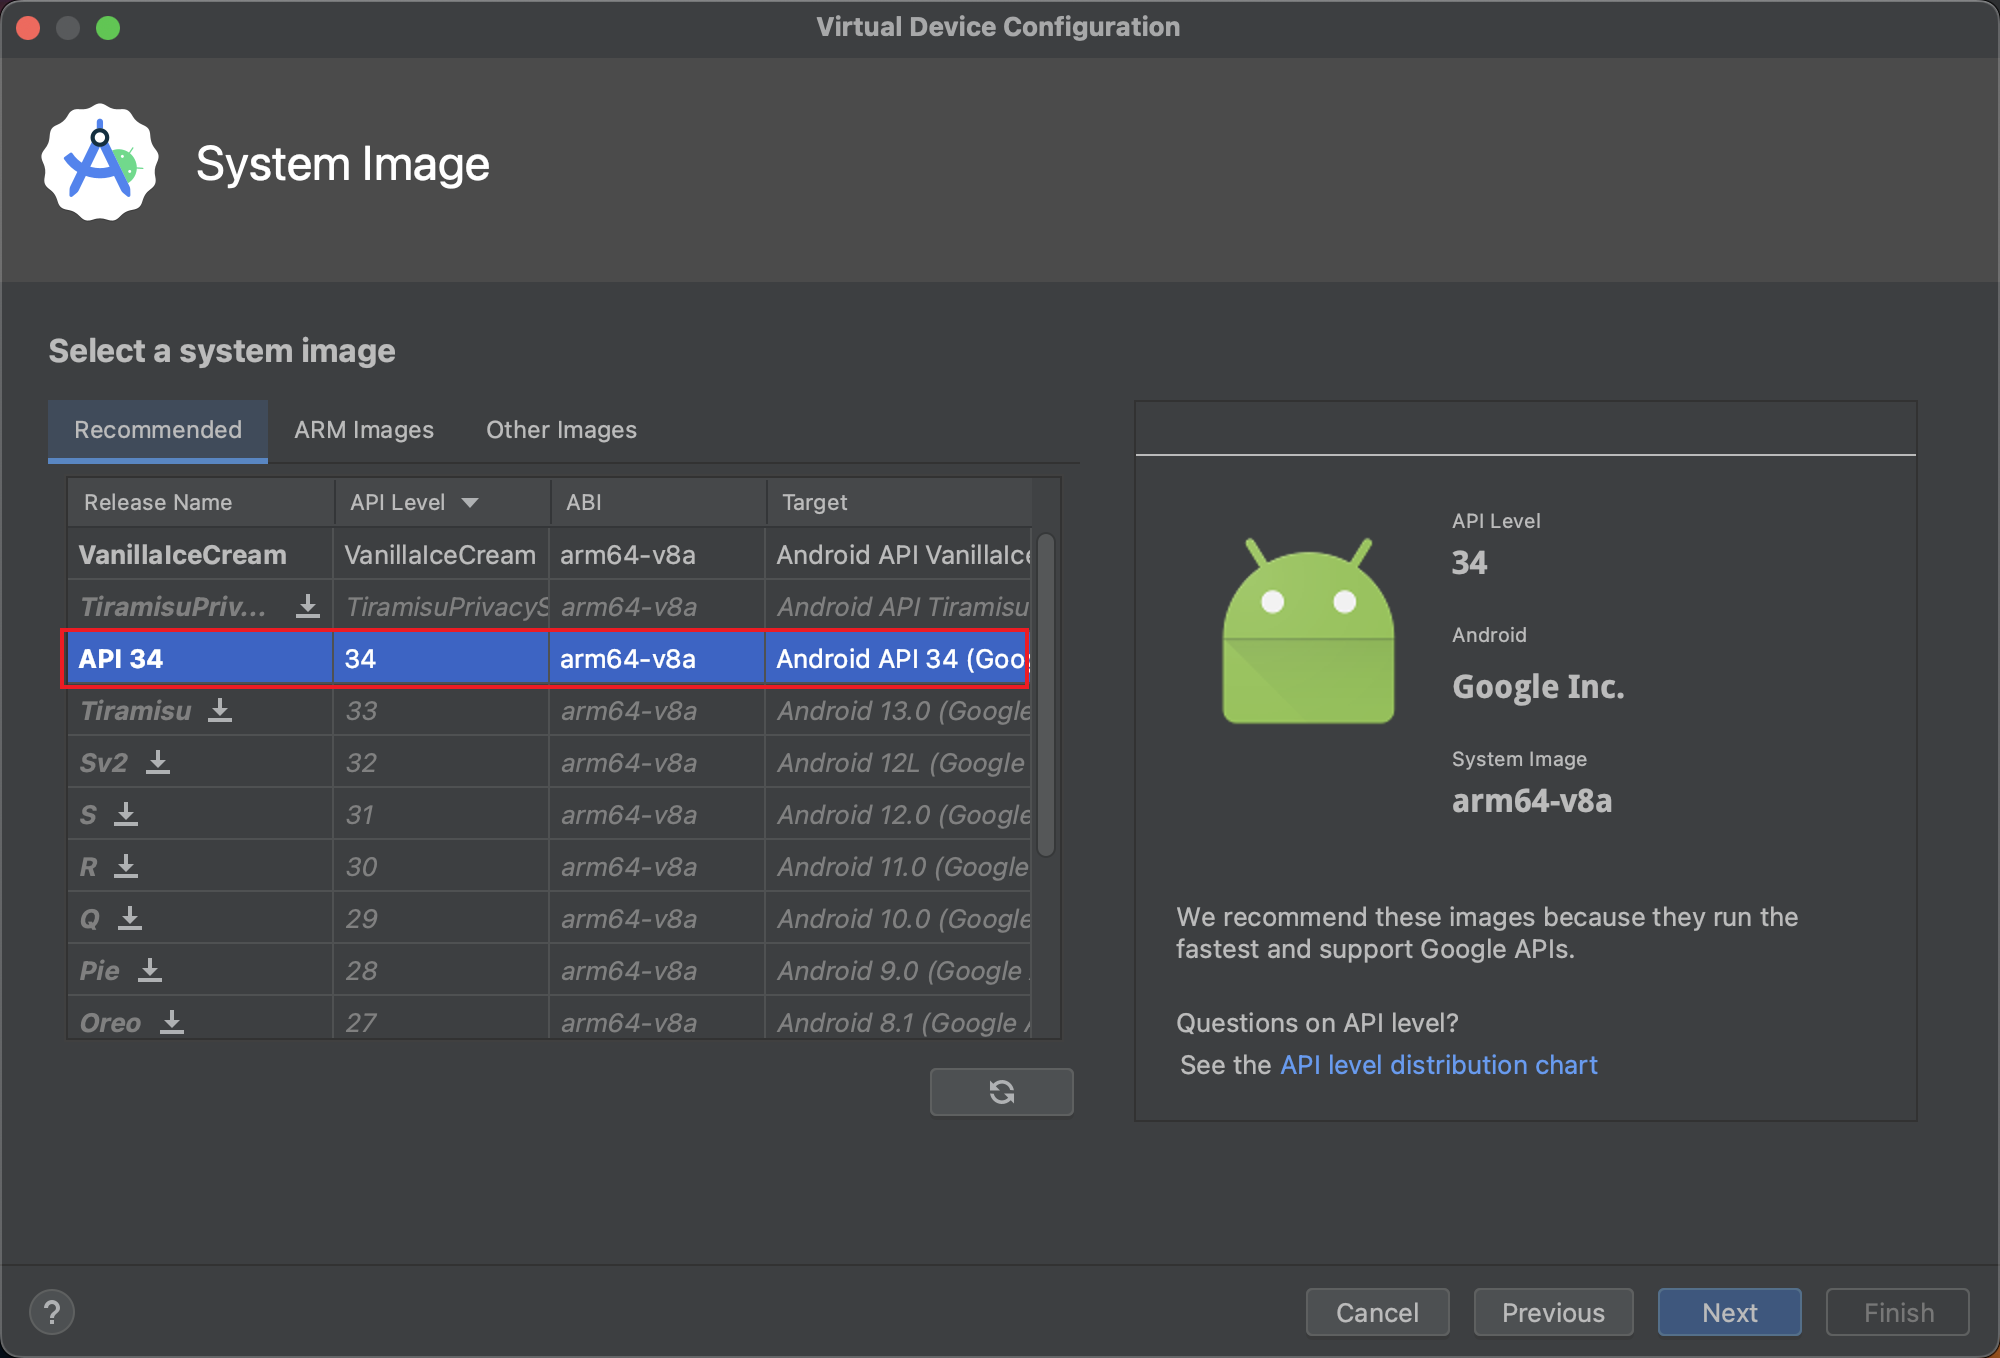
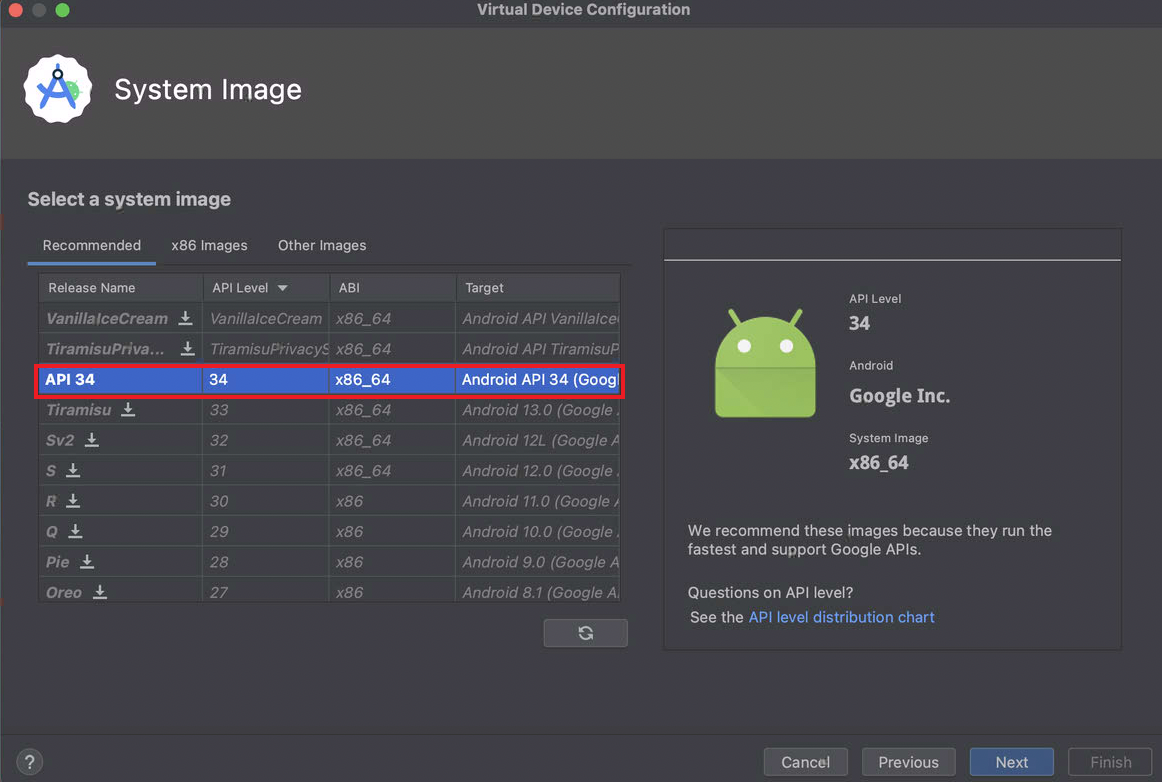
Select the system image “API 34” and click the button “Next”. On Mac (Apple Silicon):
On Mac (Intel):
Step 7. Now the Android emulator has started. You can drag and drop an Android app .apk file to install it to the Android emulator.
Create Android emulator for installing the old version of Kindle app
If you want to install kindle app 4.16 on the Android emulator, you should create the specific emulator first.
Step 1. On the “Device Manager” window, click the button “Create device”
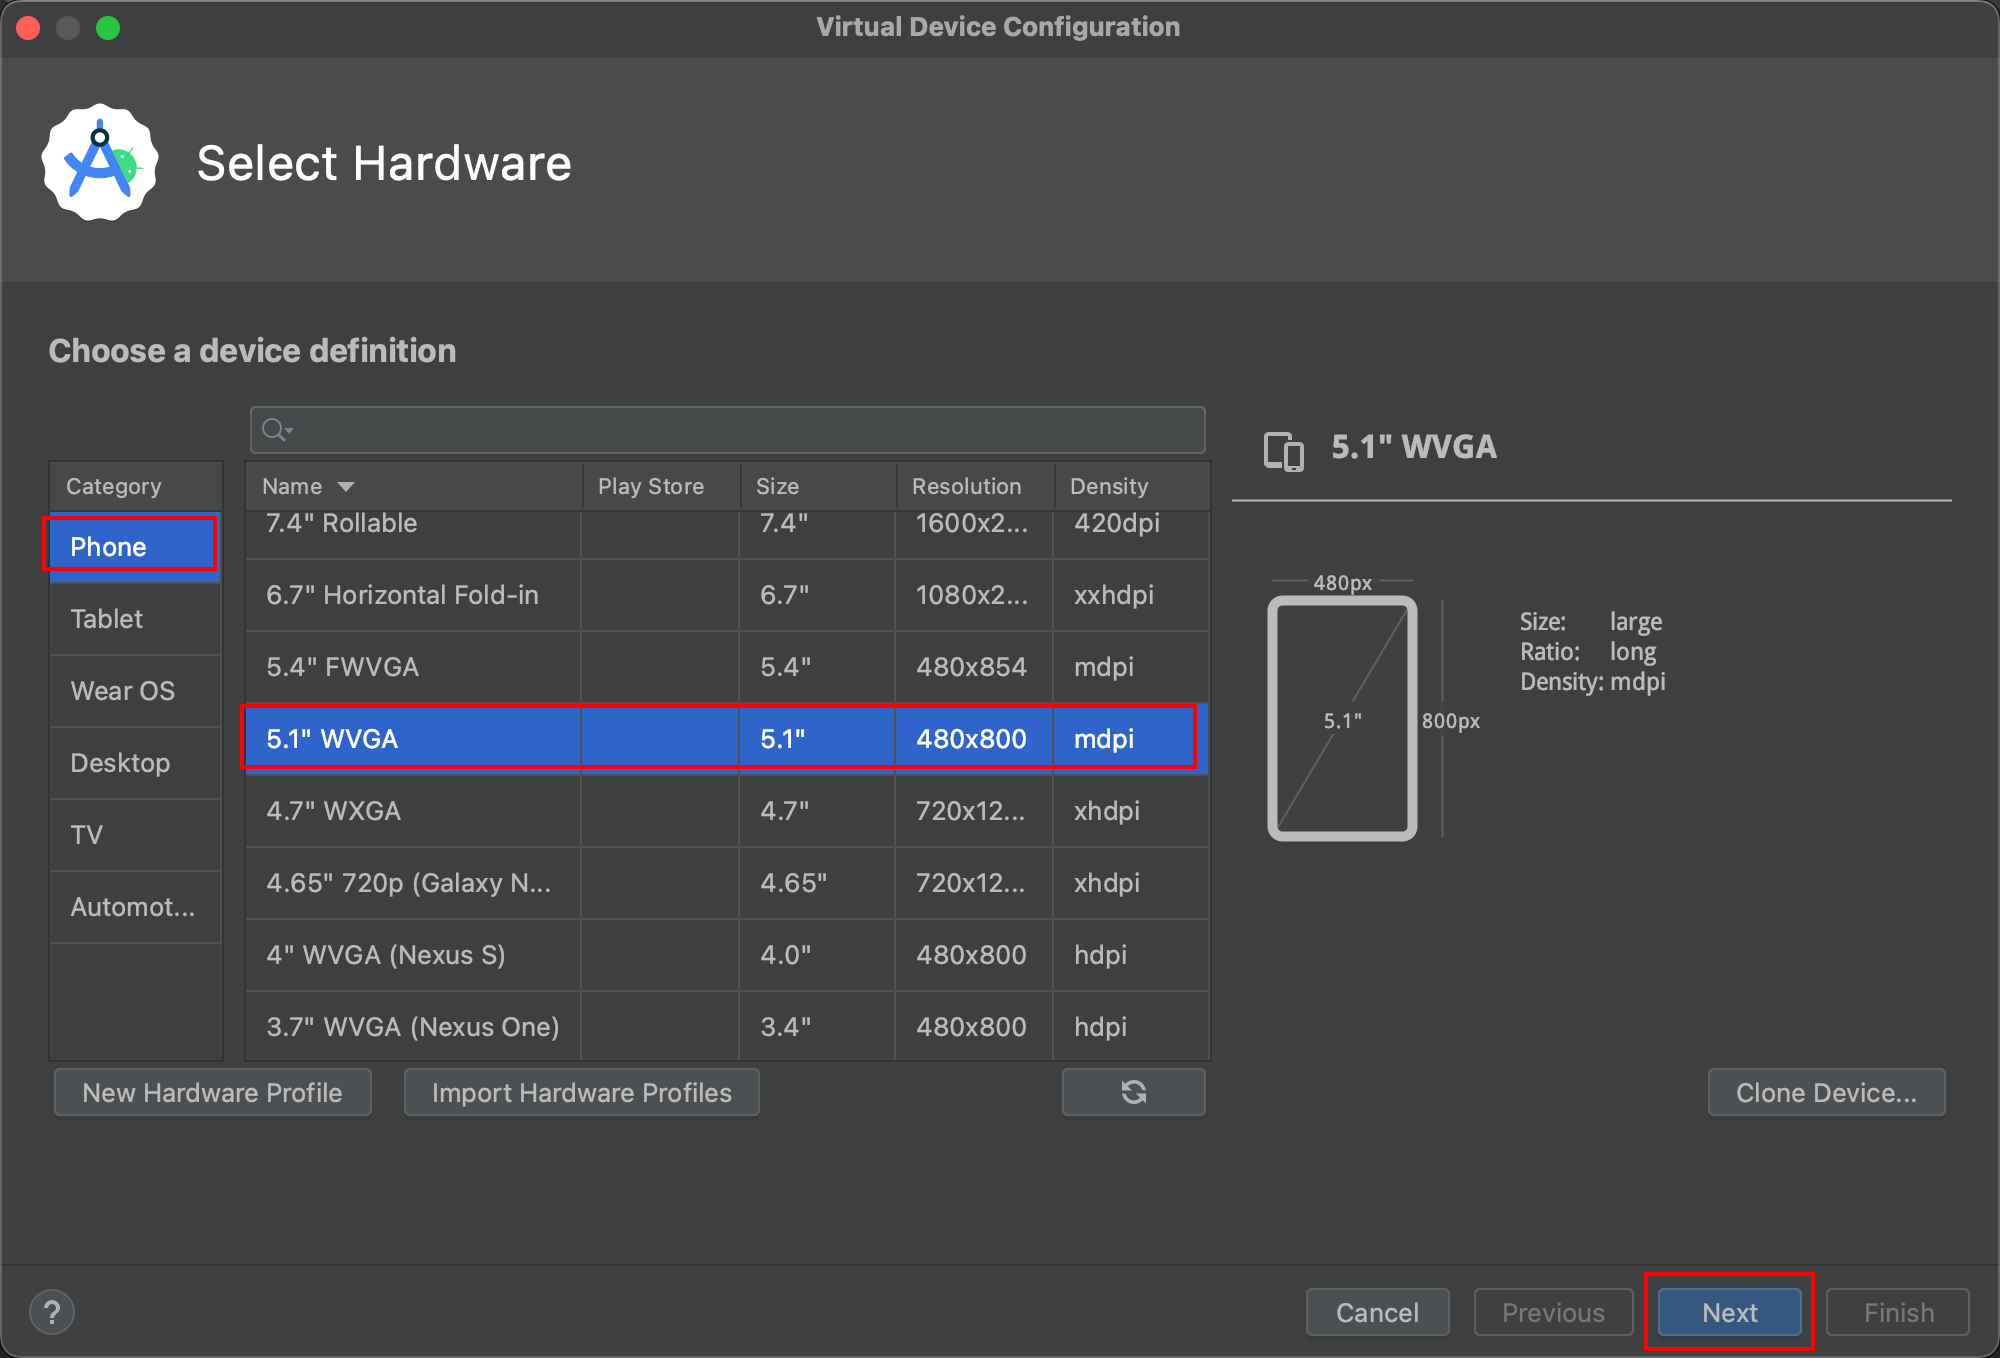
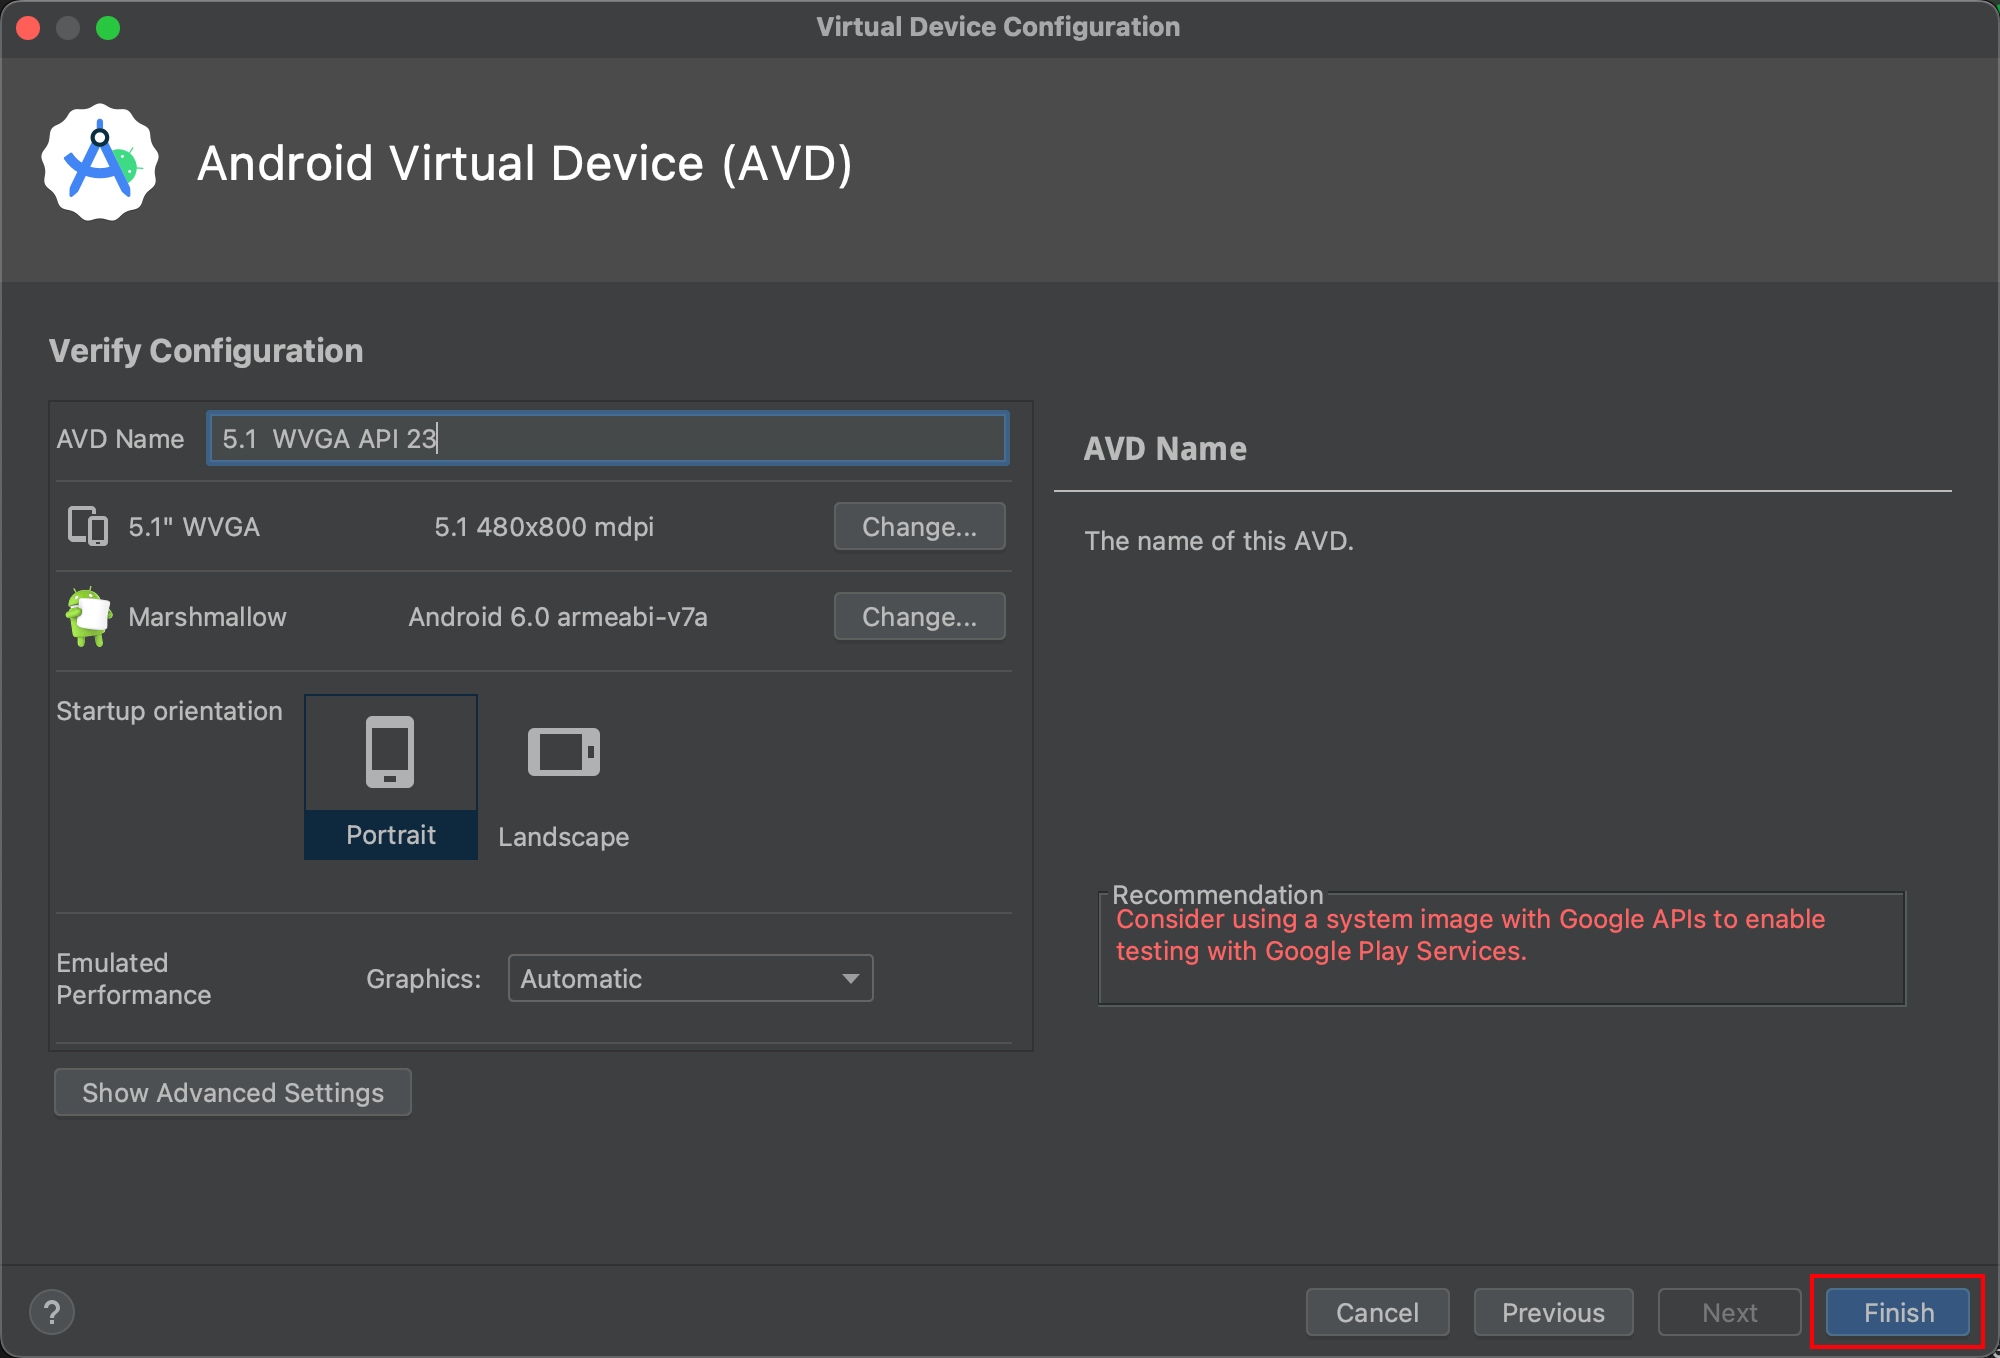
Step 2. On the “Virtual Device Configuration” window, select the “Phone” of the category, then select name: 5.1″ WVGA, size: 5.1″, resolution: 480*800, density: mdpi, then click the button “Next”
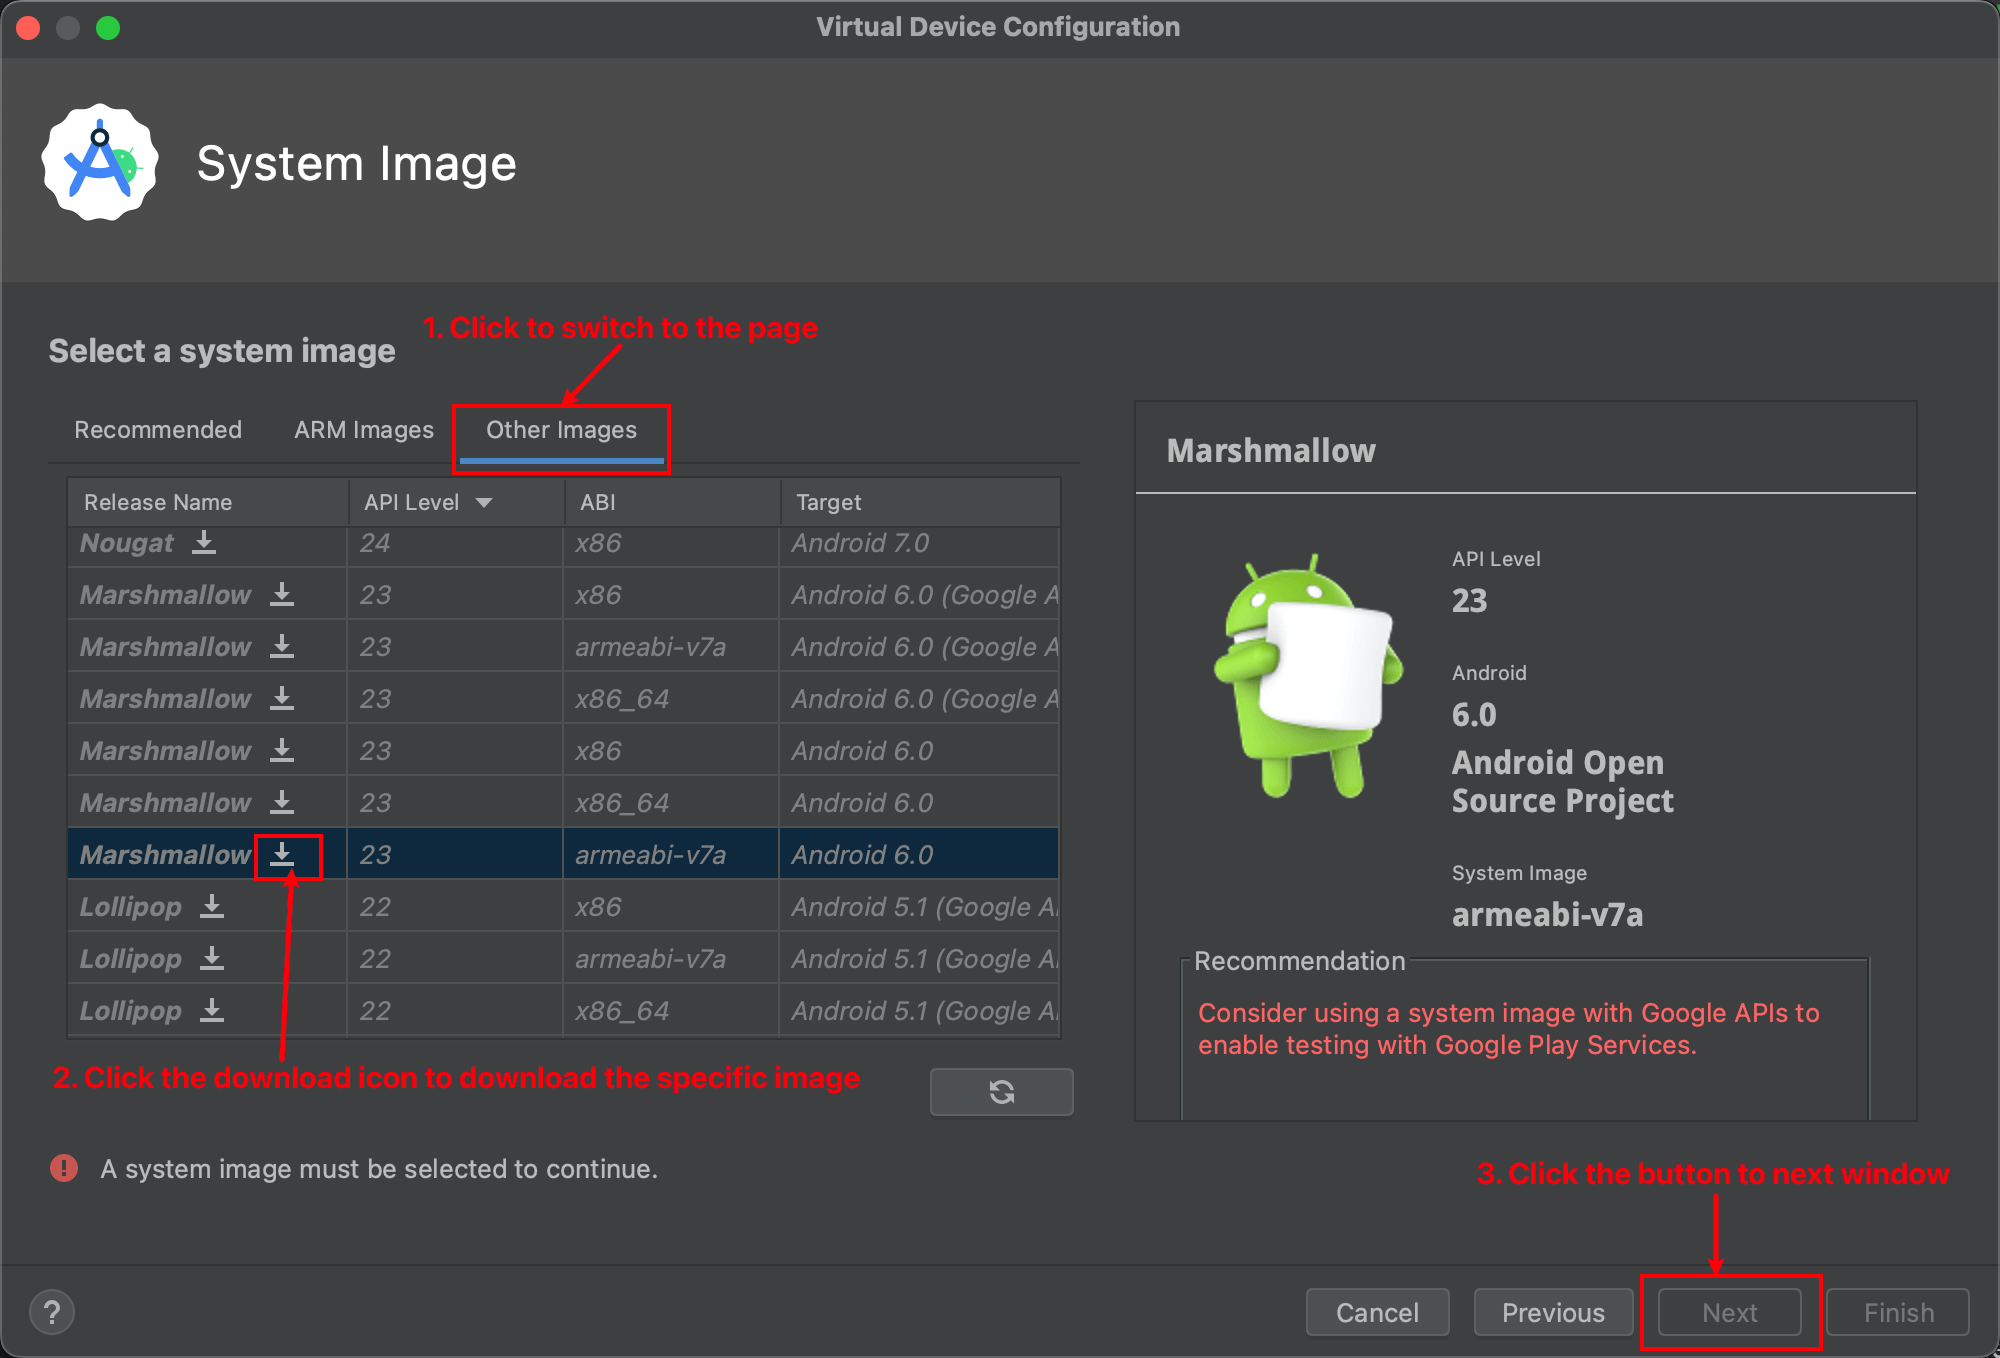
Step 3. Click the tab page “Other Images”, select the system image name: Marshmallow, API Level: 23, ABI: armeabi-v7a, Target: Android 6.0. You should click the download button to download the system image first, then click the button “Next”
Step 4. Click the button “Finish” to finish the Android emulator setup.
Step 5. Click the start icon to start the new Android emulator, then drag and drop Kindle app 4.16 file to install it.
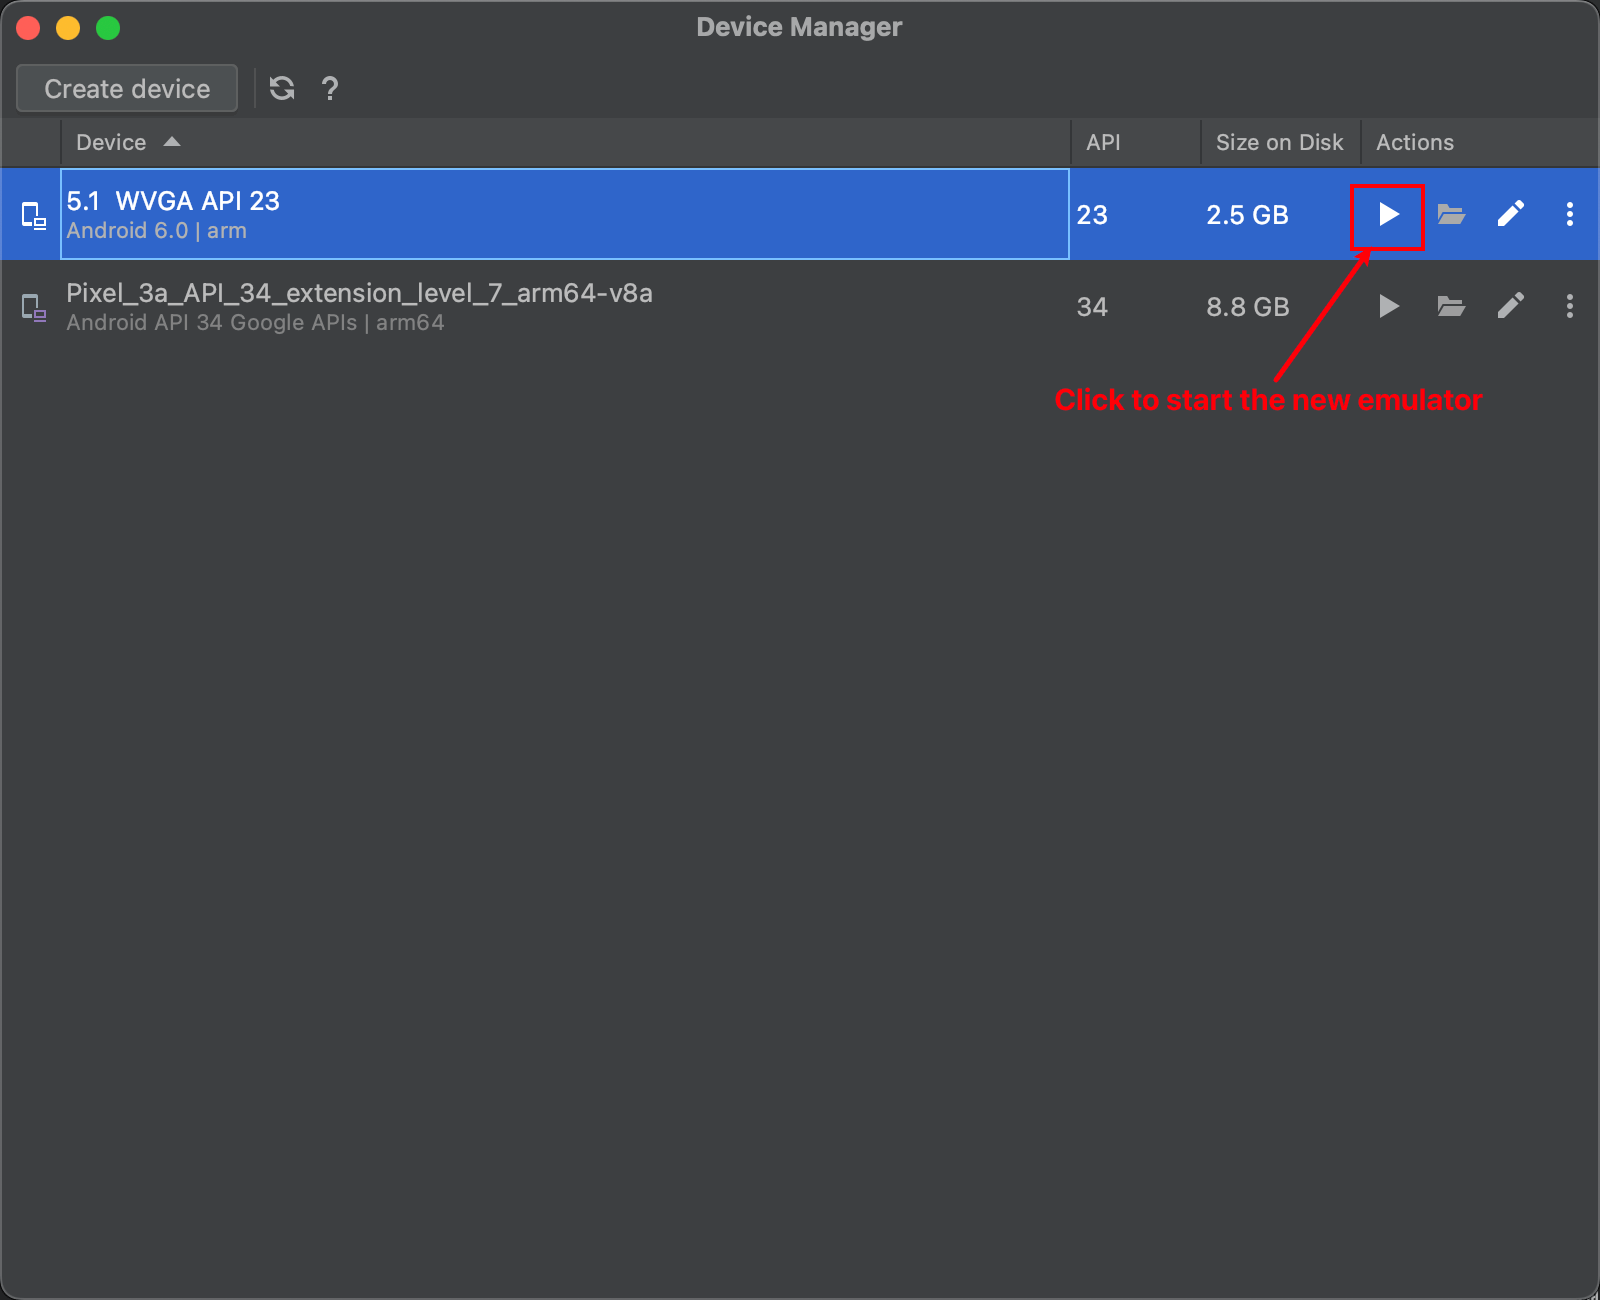
The installation process is slow, so wait for minutes.

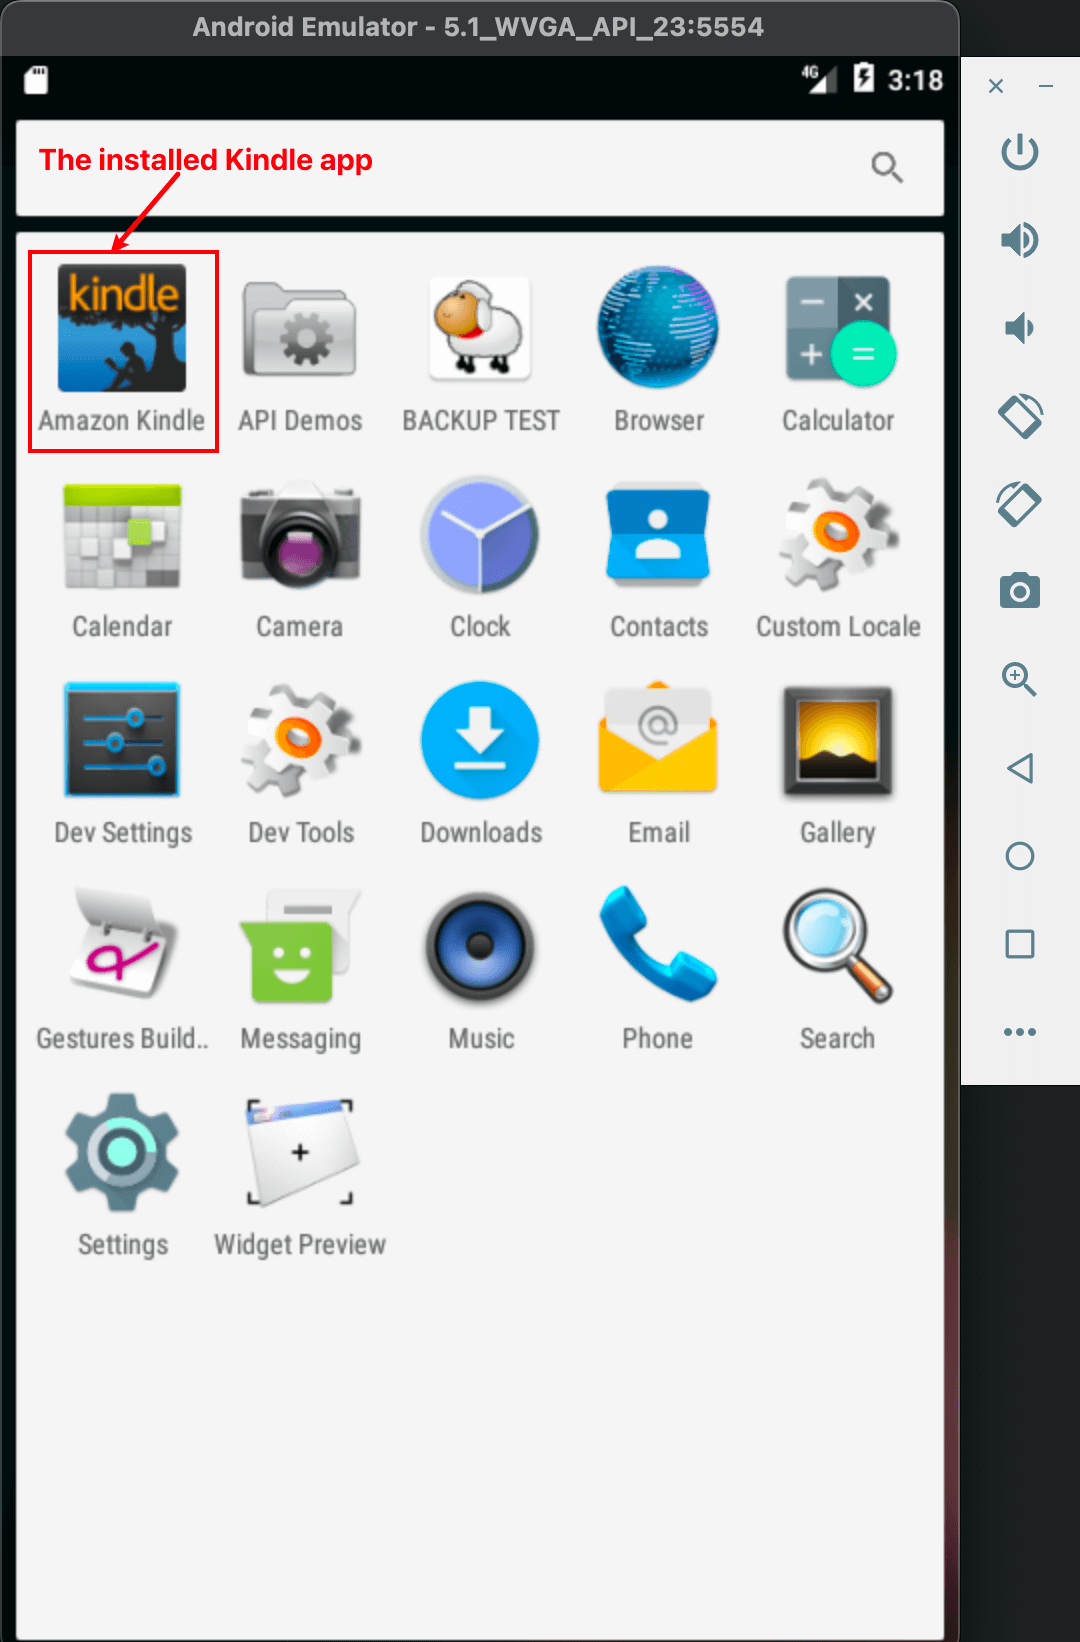
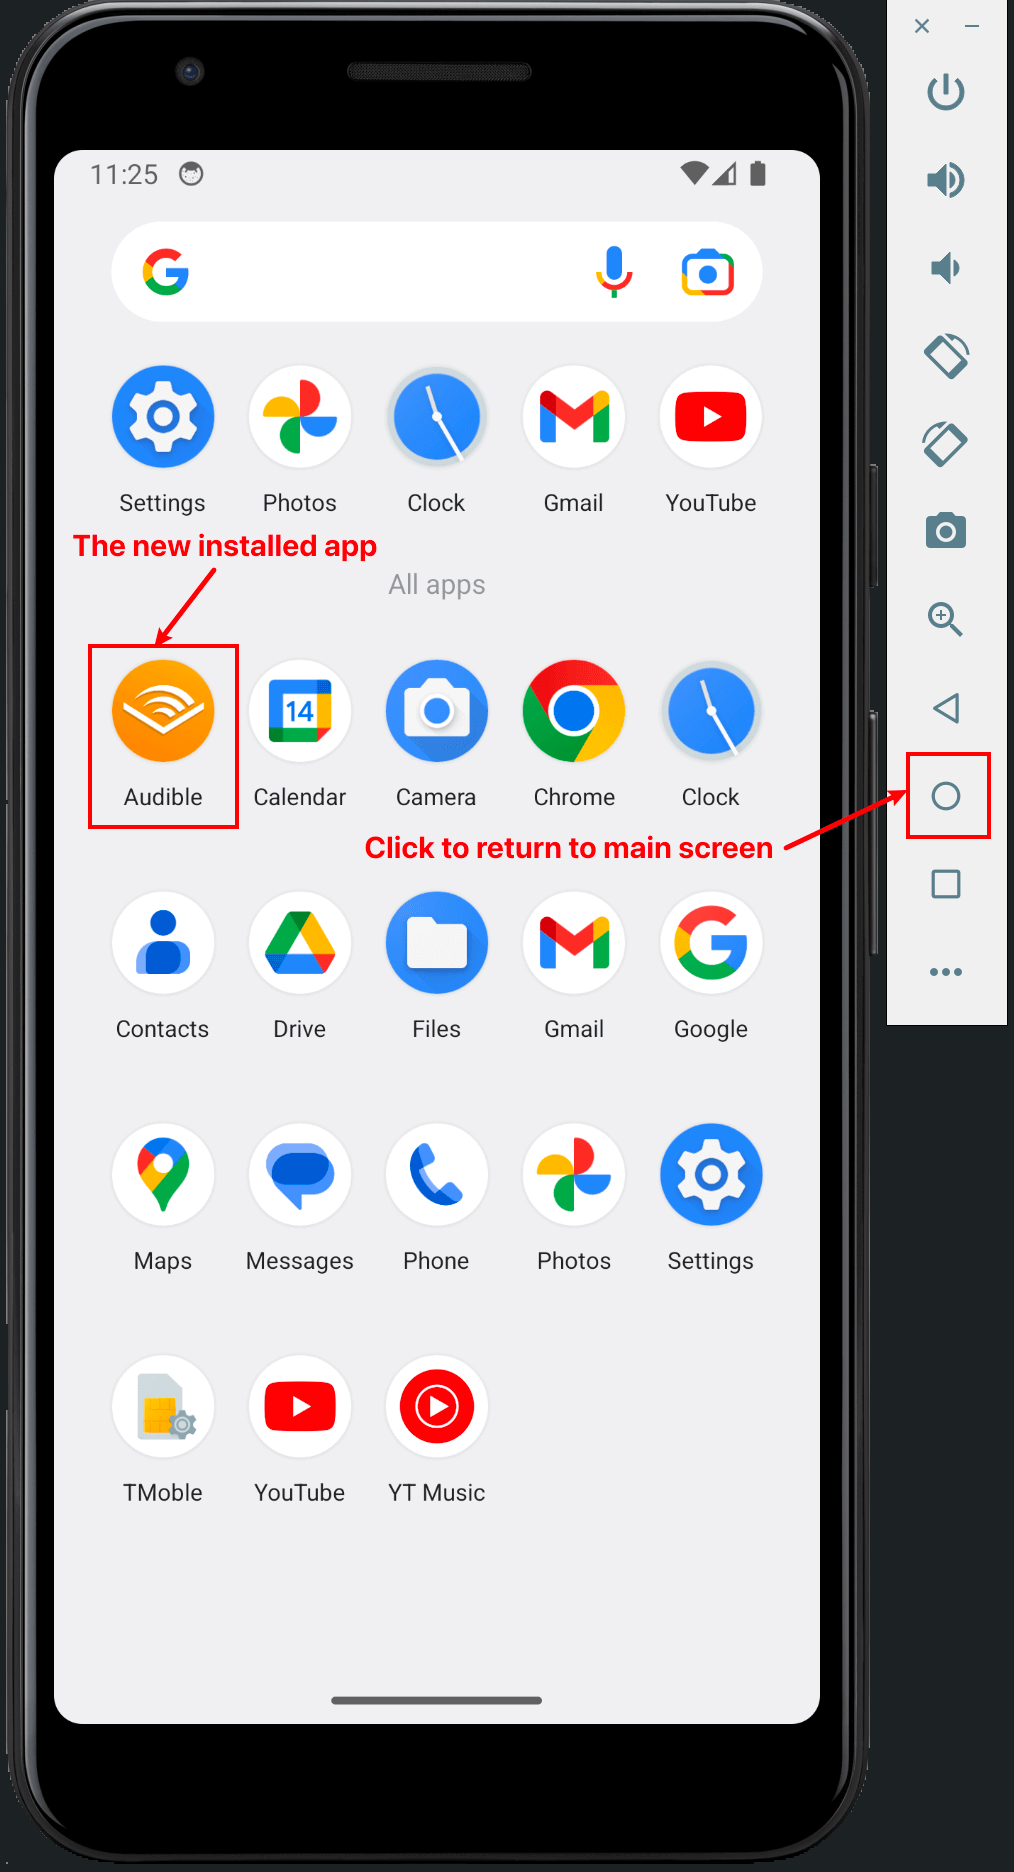
Step 6. Click the touch button to check the installed app.
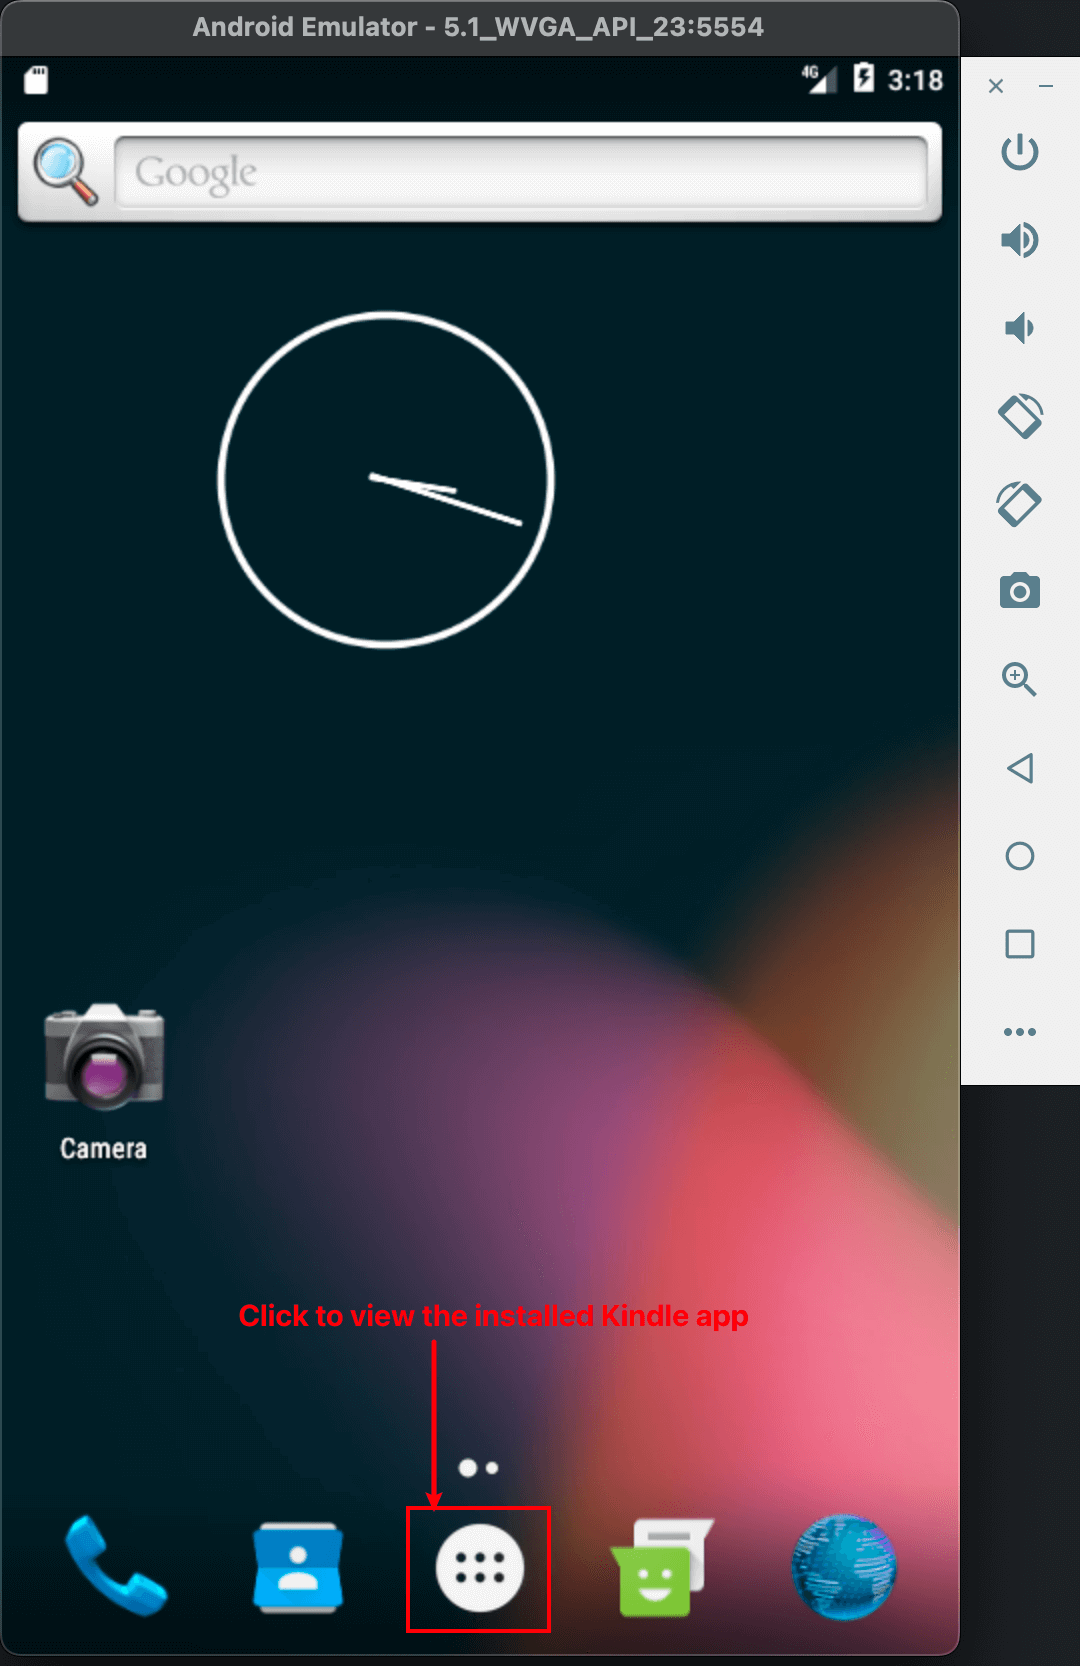
The Kindle app 4.16 is installed.